Instructions for dismantling BlackBerry Priv
This page is translated by robot. You may contact us if you have any questions on its content.
Smartphone showdown complexity BlackBerry Priv — 9/10. Disassembly time: about 20 minutes.
Please note that this instruction is written BlackBerry Priv disassembly for service centers specialists. If you are interested in repairing your vehicle, please contact the company InfoResheniya BlackBerry- .
What you need to disassemble BlackBerry Priv
To disassemble BlackBerry Priv, you will need these tools:
- Screwdriver type T5
- Screwdriver type T3
- Plastic tools for detaching parts
- Metal lift
- hairdryer
Parts for BlackBerry Priv
All spare parts for repair BlackBerry Priv can be found on the corresponding page .
Device Information:
How to disassemble BlackBerry Priv
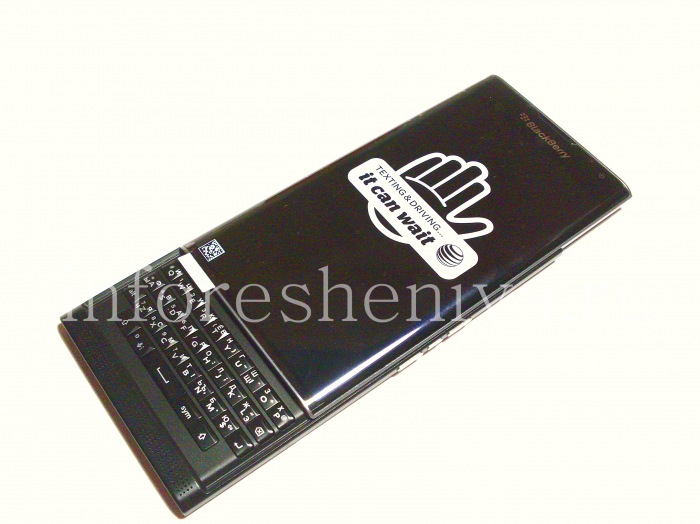
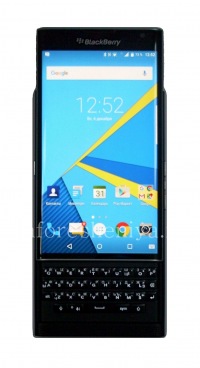
BlackBerry Priv smartphone, which will be dismantled. Version STV100-1 AT & T operator.
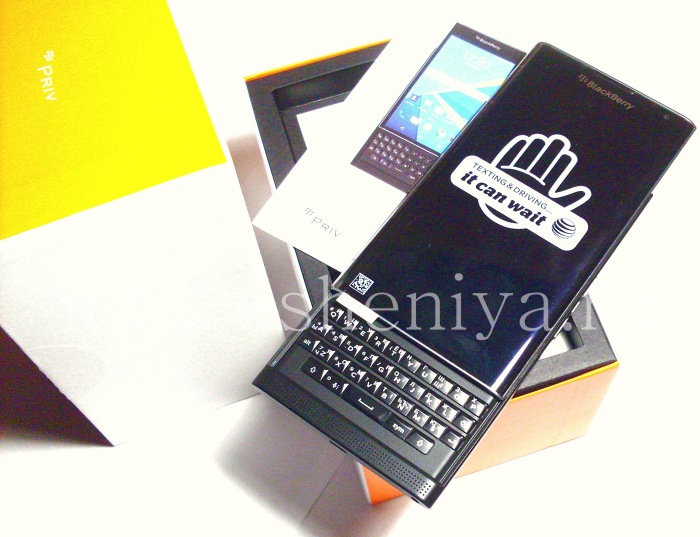
BlackBerry Priv with a box.
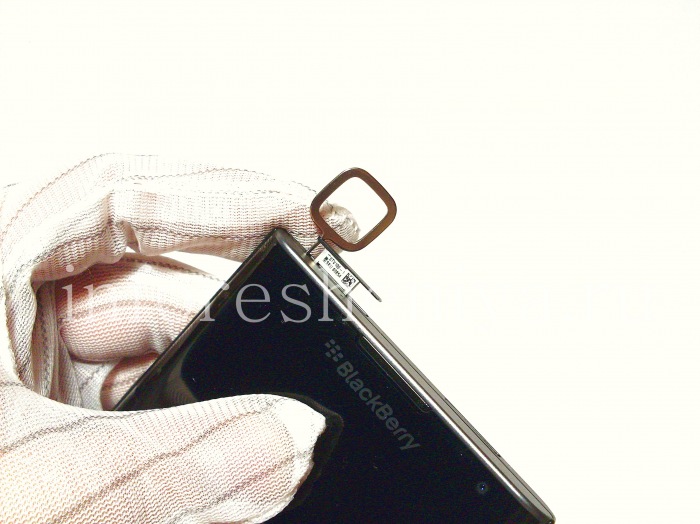
So, down to business. Habitual users Classic way, needle, open the SIM card slot and pull out the Nano sim card holder BlackBerry Priv.
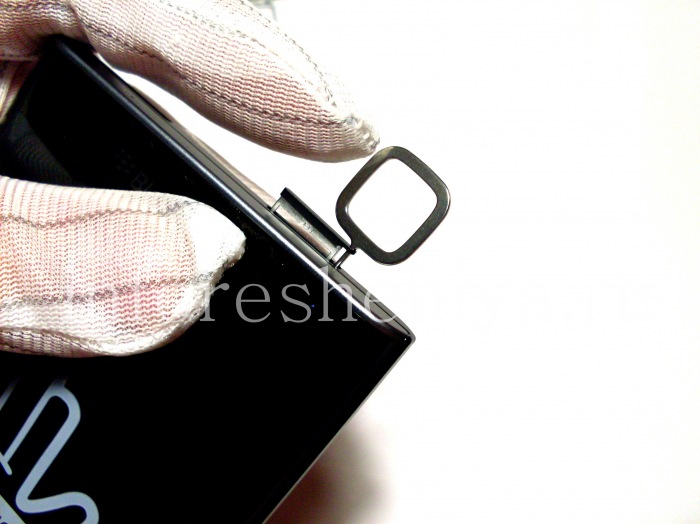
In a similar way we obtain the memory card holder.
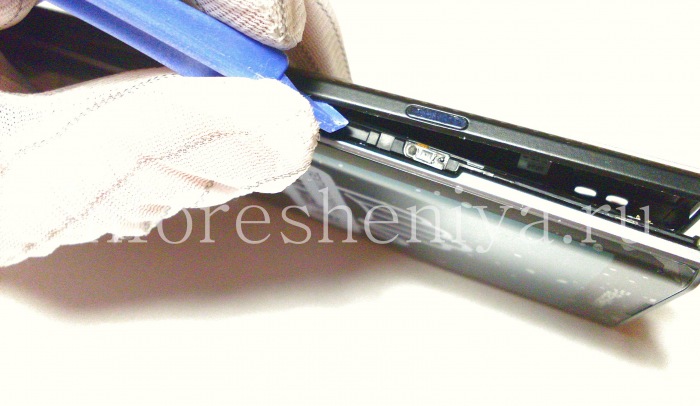
Now remove the battery cover BlackBerry Priv. It is not simple. Plastic stripping solution, first from the power button, and on the opposite track and neatly shifts the fragment of the back cover.
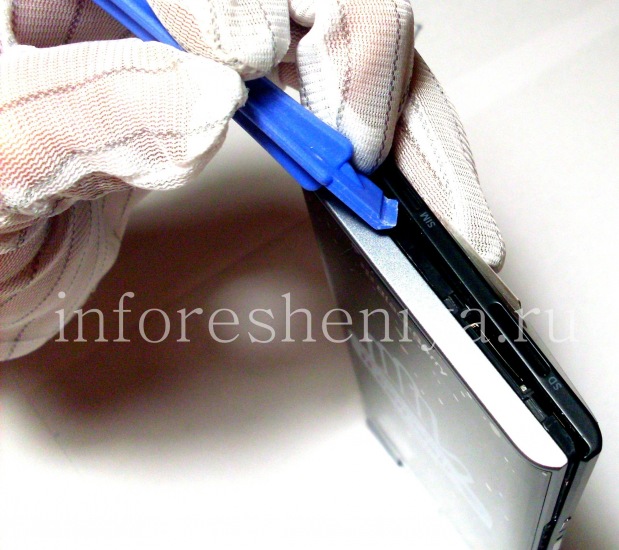
Now we go to the top of the smartphone and undock latch.
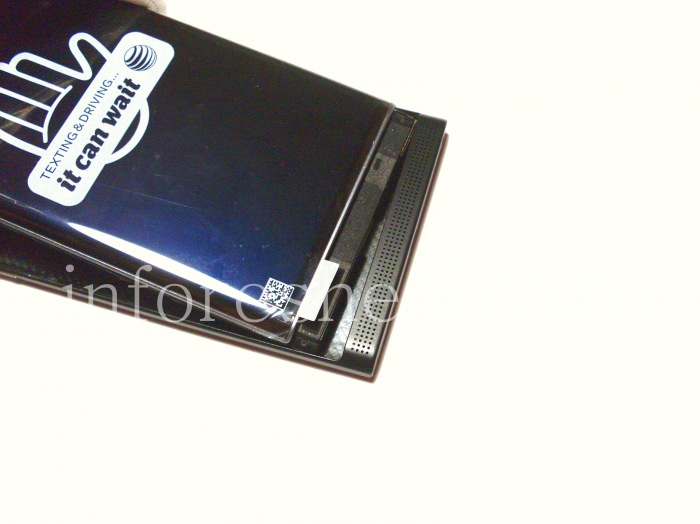
Now the cover can be removed. Slide it down, and up smartphone.
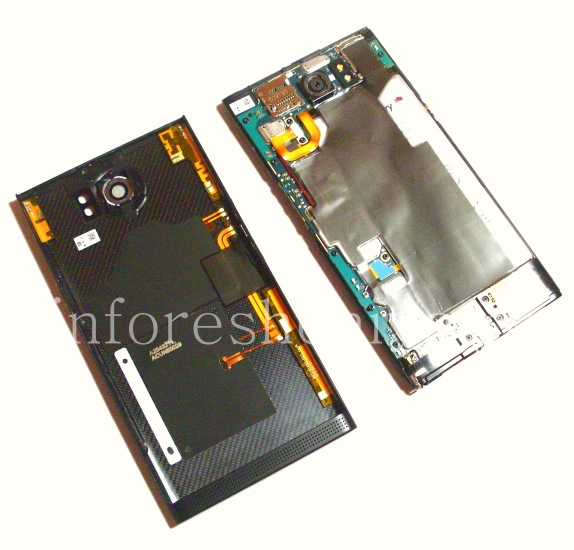
That's what we got. Cover BlackBerry Priv and motherboard with the rest of the smartphone.
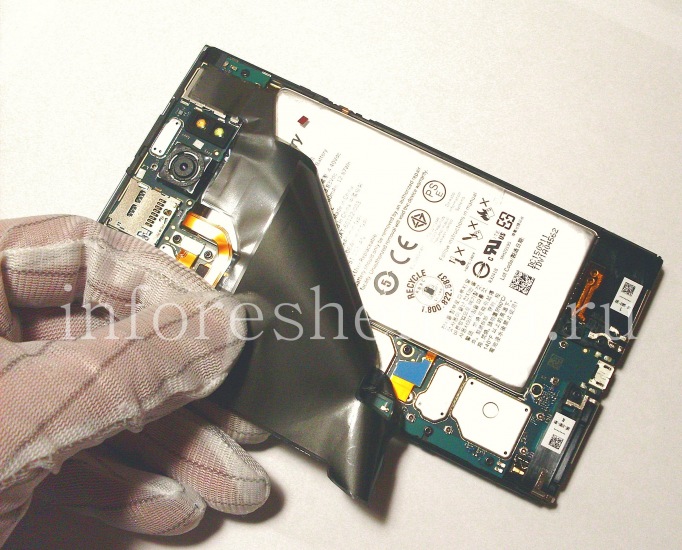
Remove the protective shrink film with battery smartphone Priv.
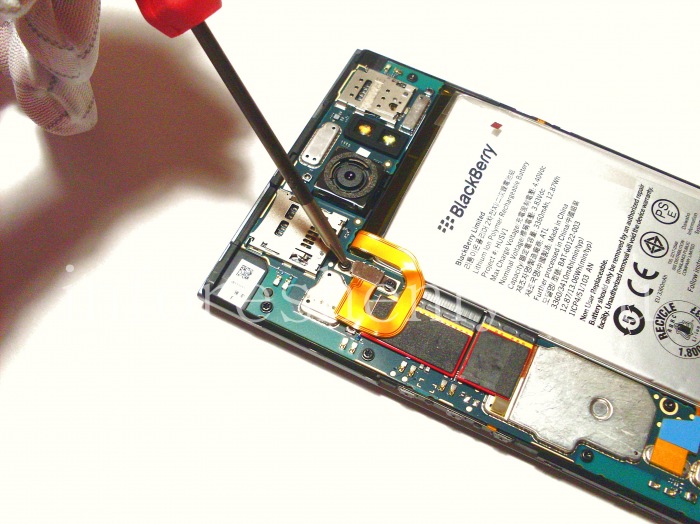
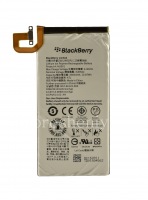
Remove the battery itself — first stage unscrew a couple of T5 connector.
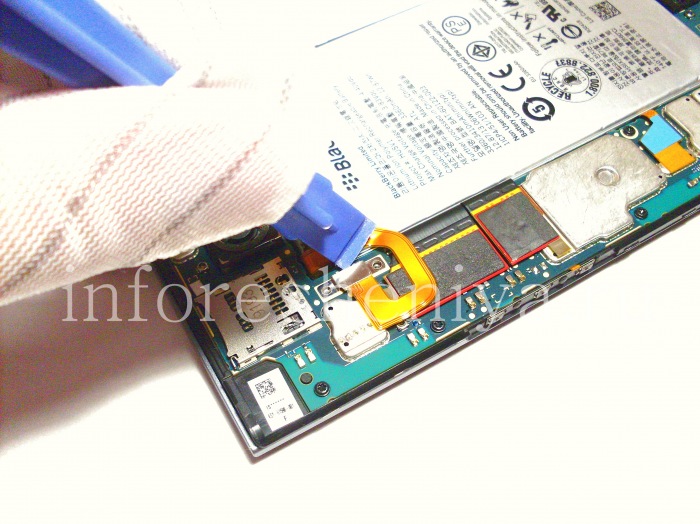
Loosen the battery connector plastic tool.
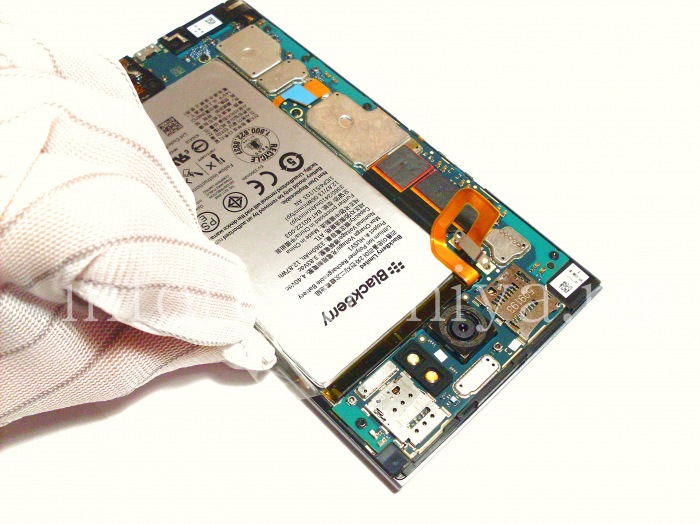
The second stage of shooting Priv smartphone battery itself. He glued and the procedure is quite complicated, it is important not to damage the cables side buttons located directly under the battery. Pre battery area should be warmed hairdryer to podplava glue adhesion and reduce, but do not overdo it — elements of the motherboard are sensitive to high temperatures.
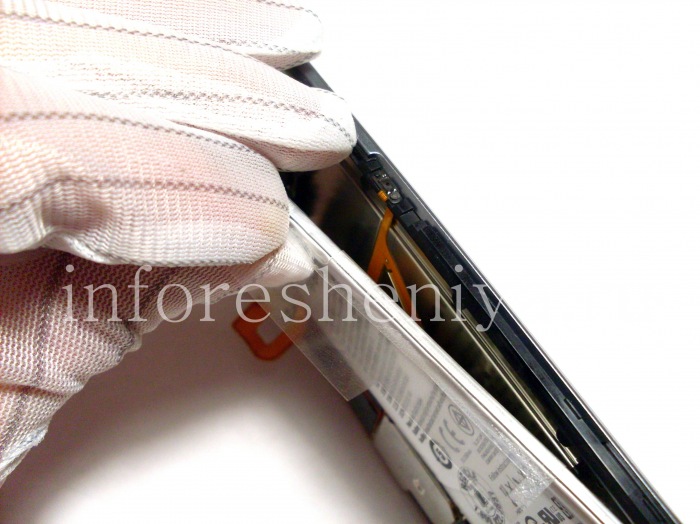
Remove the battery, you can slowly and consistently pulling for transparencies associated with battery Priv.
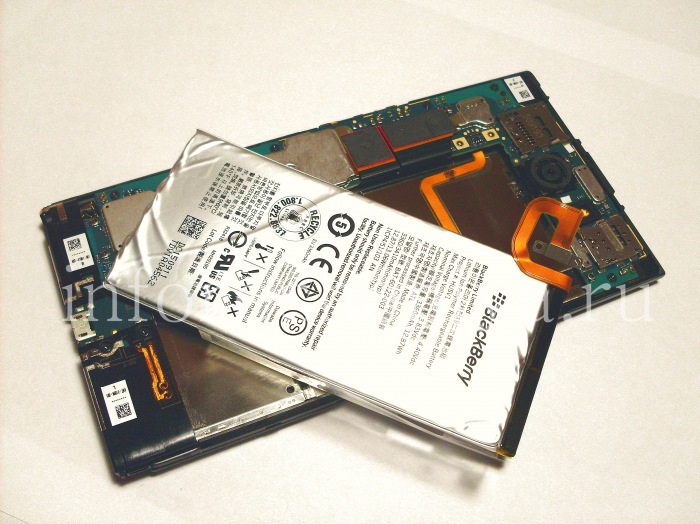
Happened. Do not worry if the battery hesitated. This will not affect its performance.
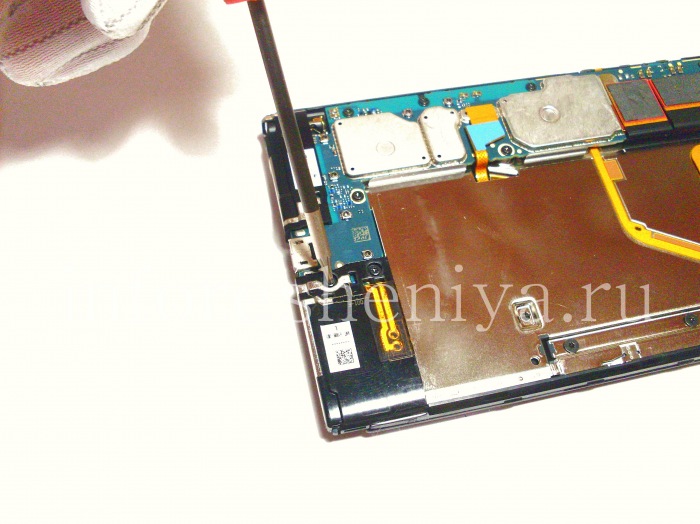
In the lower part of a smartphone unscrew the cover media dynamics (two screws T5) ..
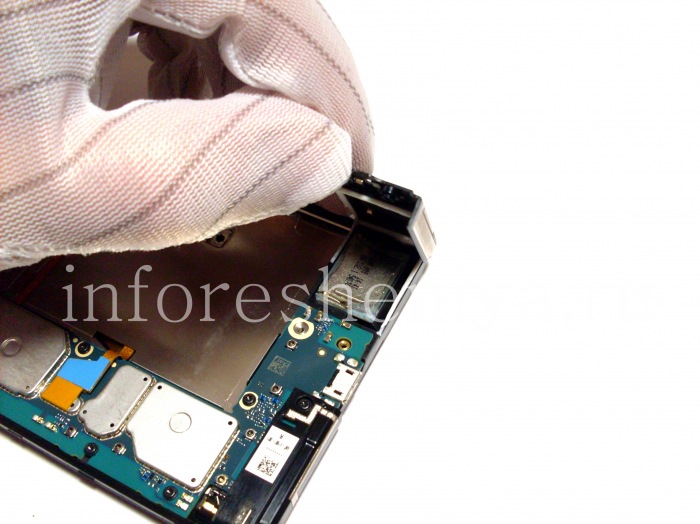
..and we raise it,
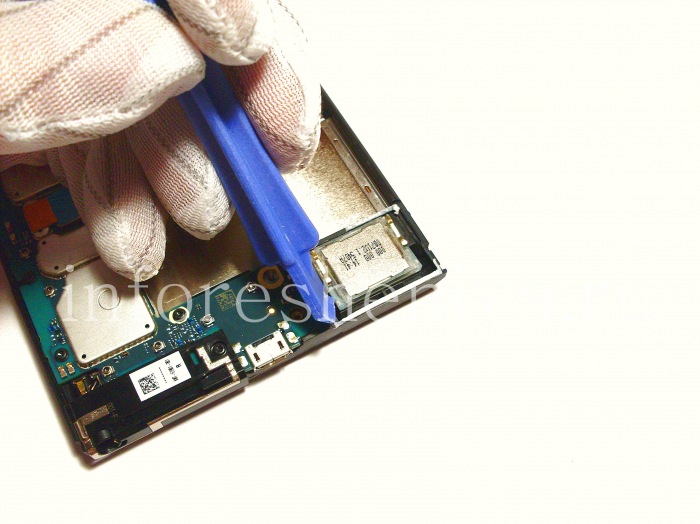
and then shoot himself media speaker BlackBerry Priv smartphone. To do this, use the plastic tool.
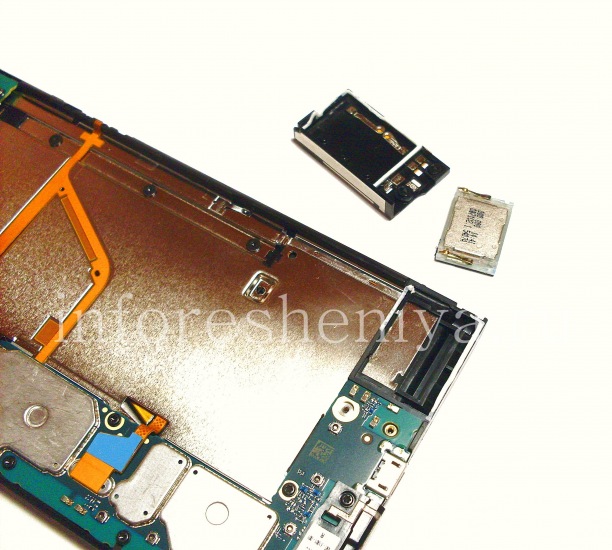
The result of the work. Continue.
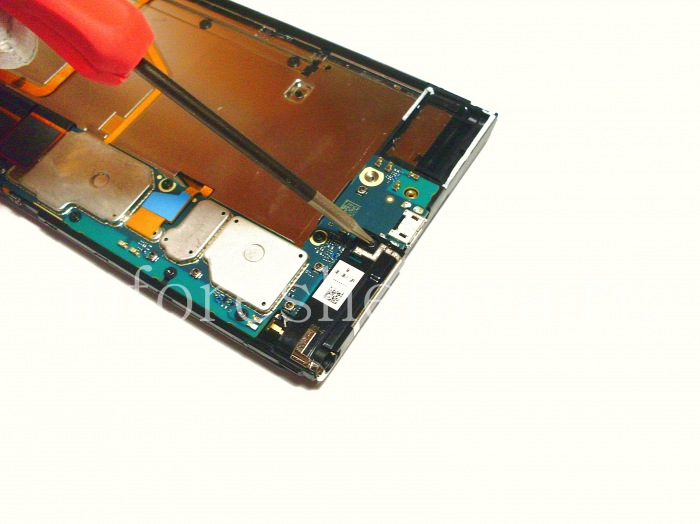
Another T5 screw holding the cover and the main microphone audio jack, remove it.
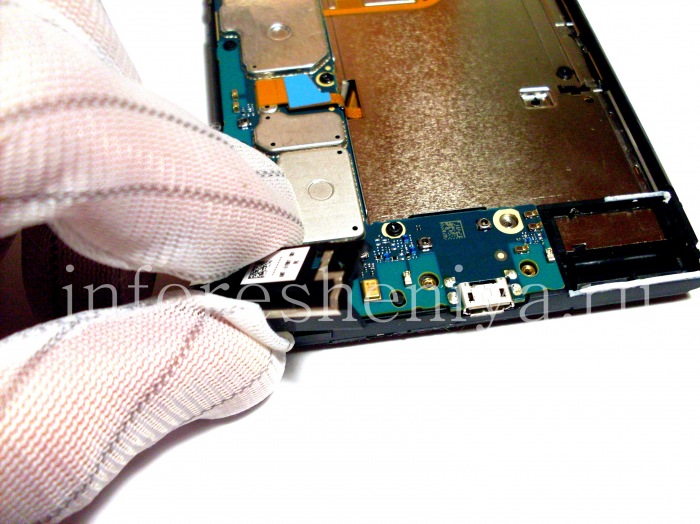
Remove the cover and the main microphone audio jacks.
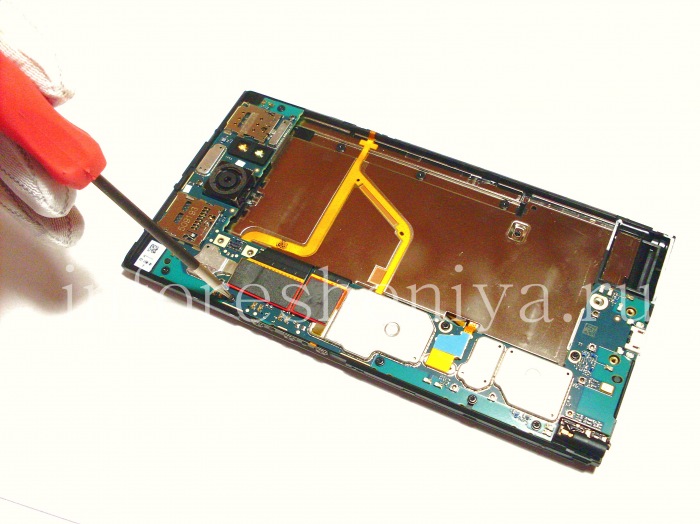
The motherboard BlackBerry Priv hold 8 T5 screws that need to be unscrewed. The sequence is not important.
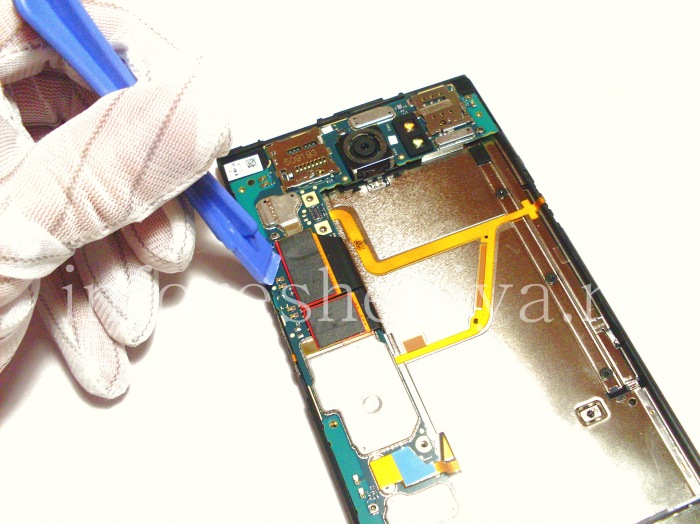
Then disconnect connectors. Start with a large screen Priv connector block.
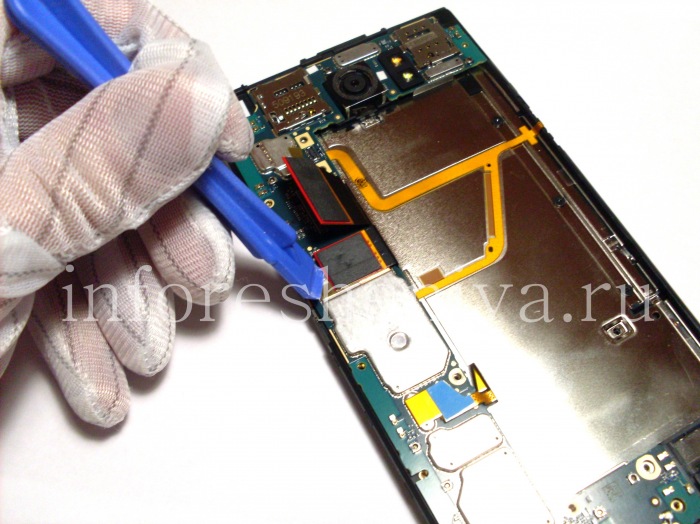
Then loosen — small.
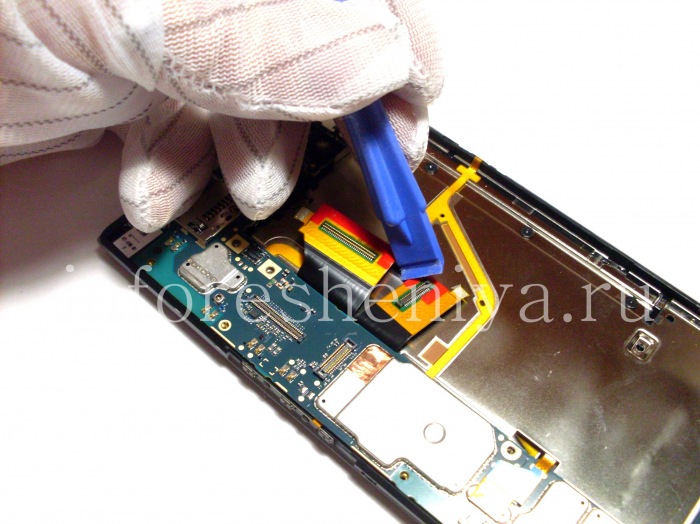
Be careful enough connectors are easily damaged.
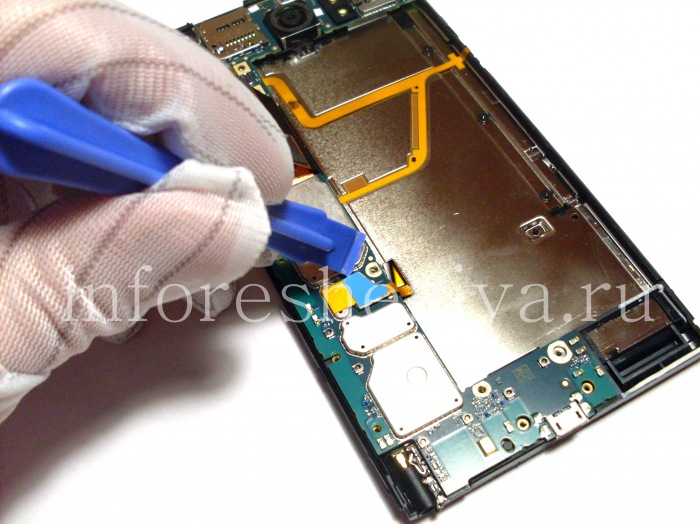
Disconnect the connector of a physical keyboard BlackBerry Priv.
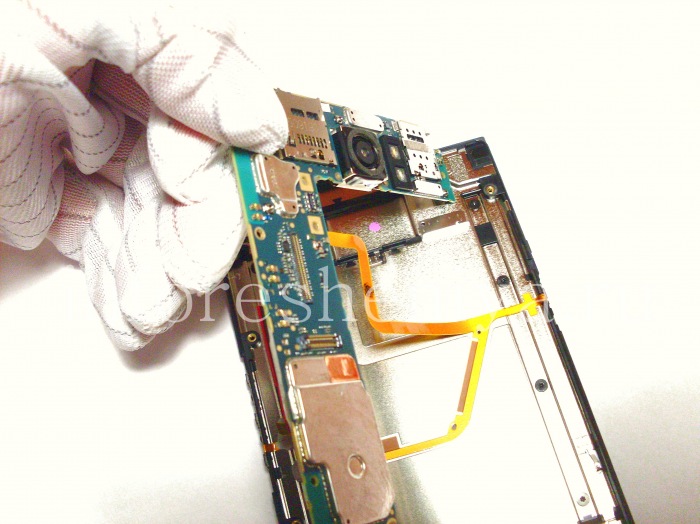
Carefully lift the motherboard vaccinated, as shown in the photo.
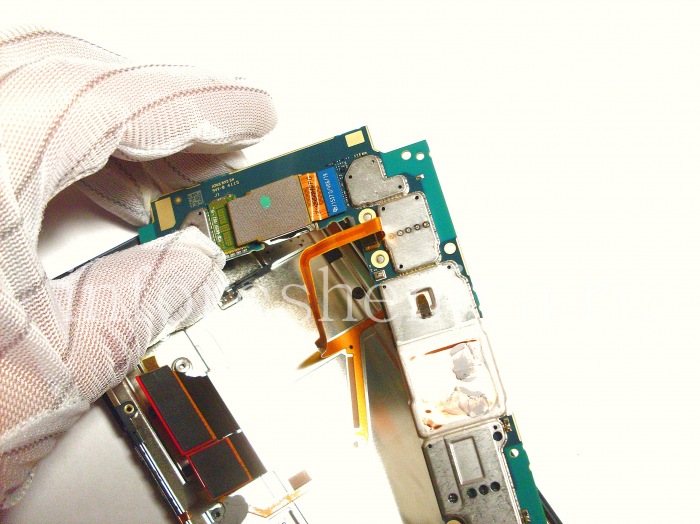
On the back side of the motherboard side connector is connected smartphone buttons
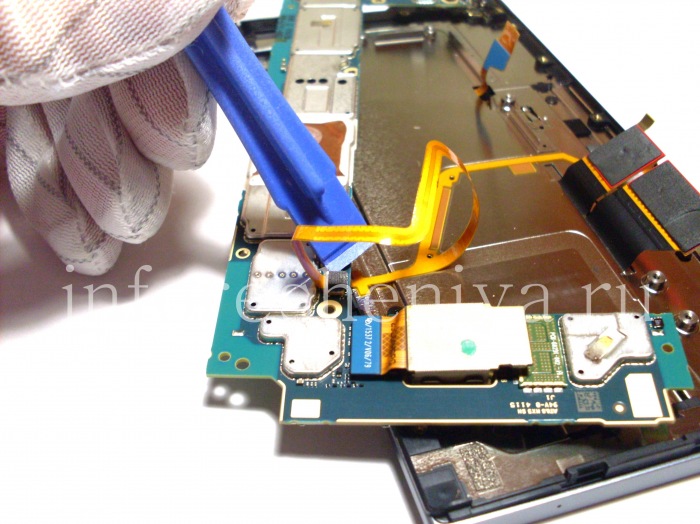
unplug it.
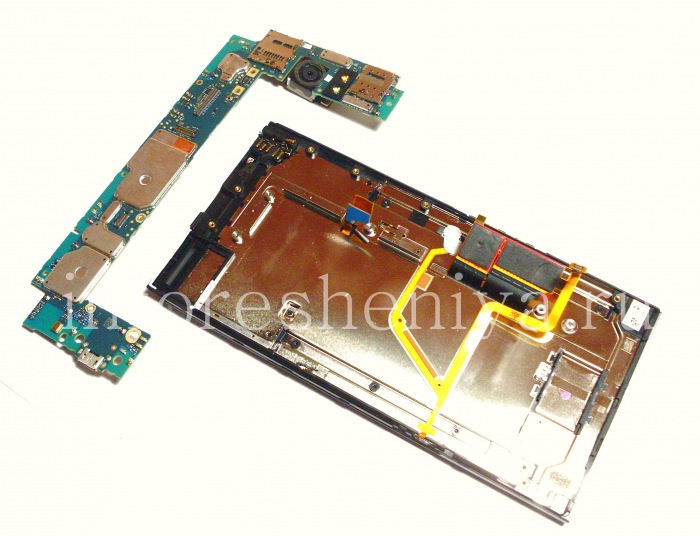
Here, BlackBerry Priv motherboard removed.
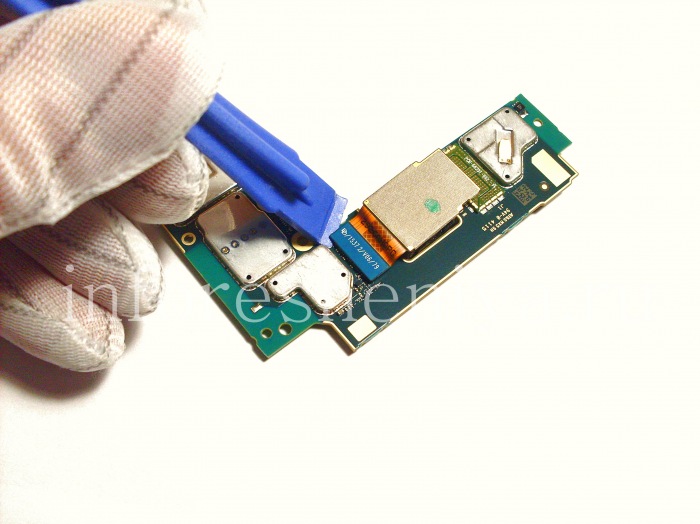
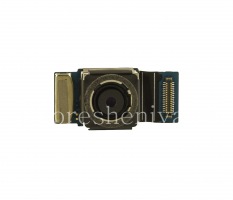
At the top of the motherboard posted major smartphone camera, it is easy to detach the plastic stripping solution.
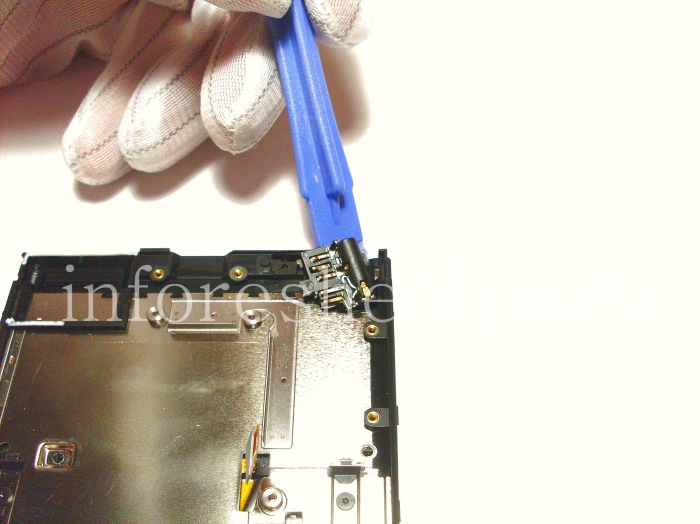
Go to the screen unit. Remove the audio jack.
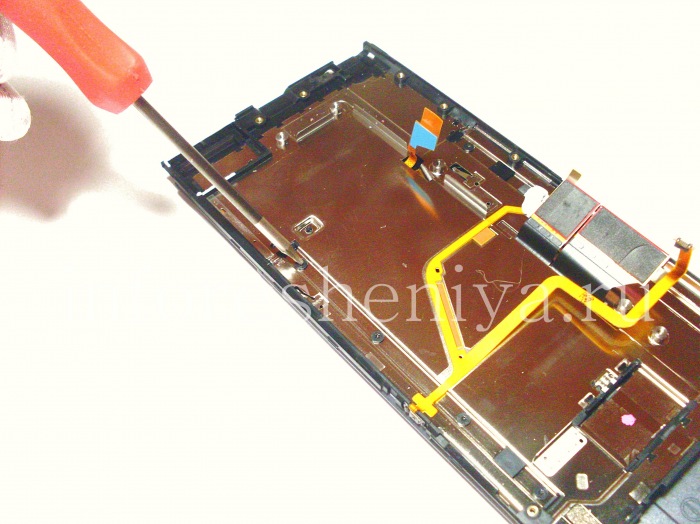
To remove the middle part of the metal housing with a keyboard, remove the 8 screws T3, 4 on each side.
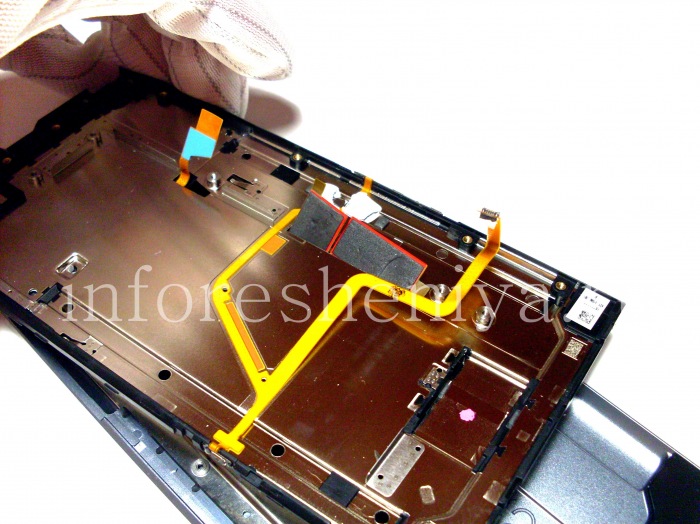
Remove the middle part, be careful not to tear the cables connectors.
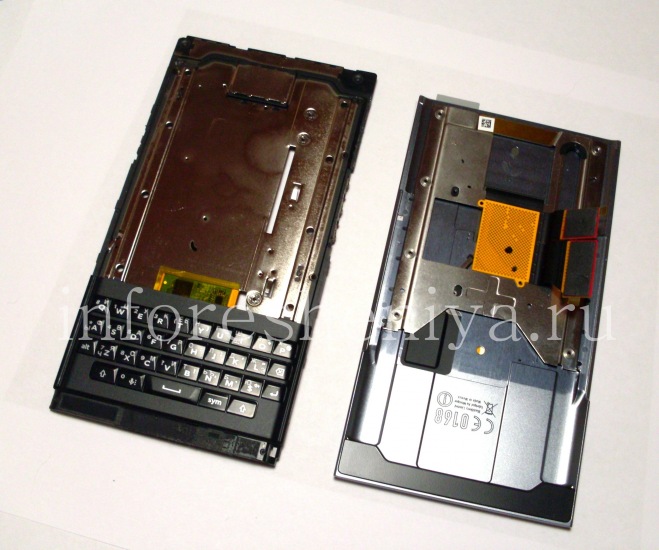
The middle part of the screen module BlackBerry Priv slider.
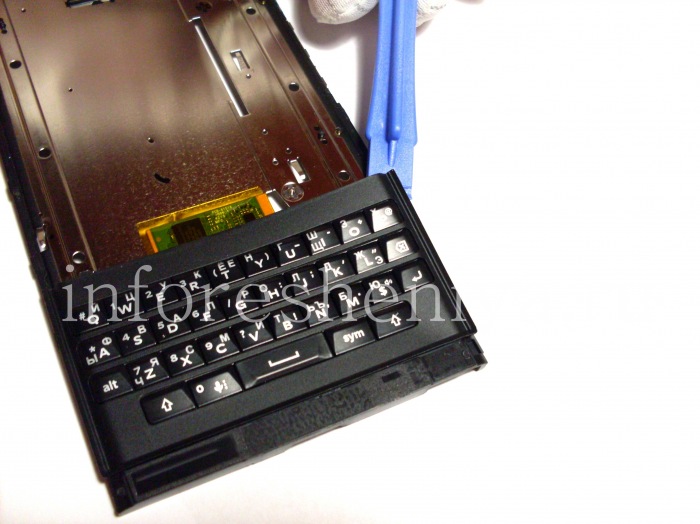
To remove BlackBerry Priv keyboard with the middle of the smart phone, it is necessary to detach with a plastic instrument. We recommend to start with the top right corner. On a photo Russian BlackBerry Priv keyboard with Russian letters engraved.
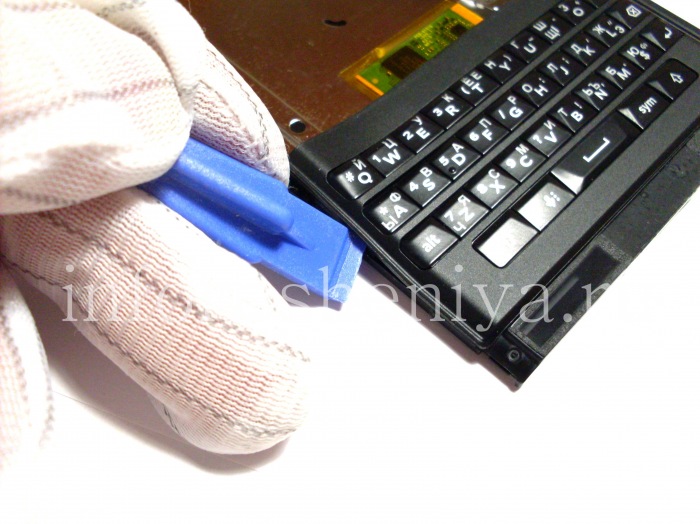
Continue to take — keyboard on the opposite side and bottom are also mounting. Note that the keyboard holder is non-adhesive surface, and mounting "disposable". After removing the attachment and return the keyboard in place in the usual way will not succeed.
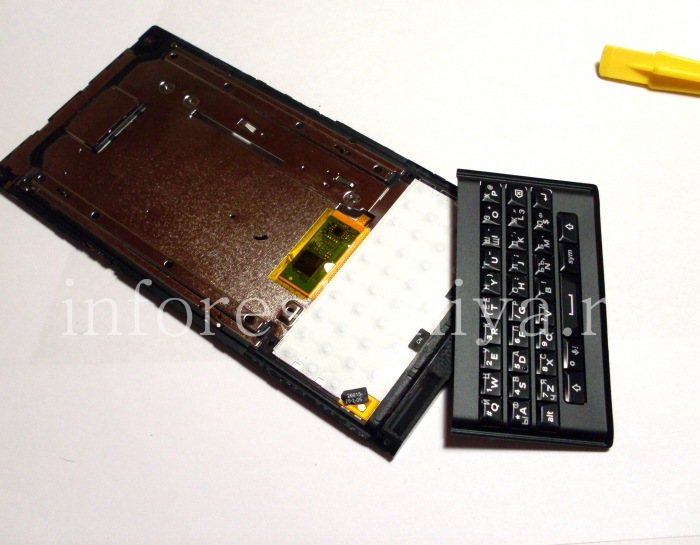
Keyboard with Priv smartphone successfully removed together with its bracket (black frame). It is also possible to detach from the holder and, if need be.
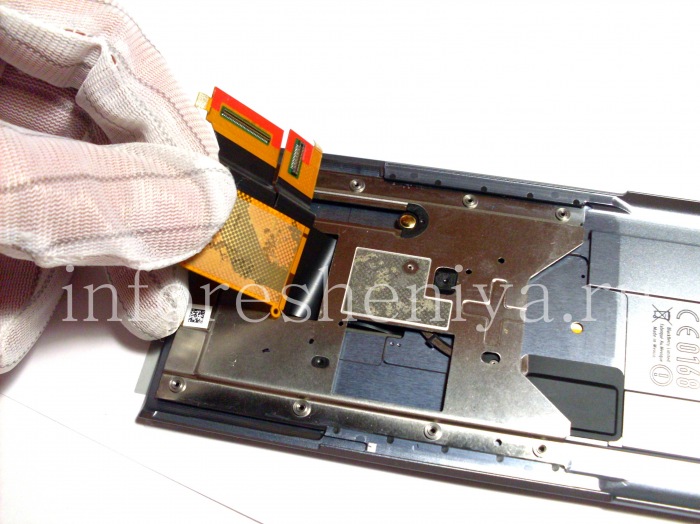
If you need to disassemble the display unit, it is necessary to remove the slider mechanism. First detach the ribbon cable connector.
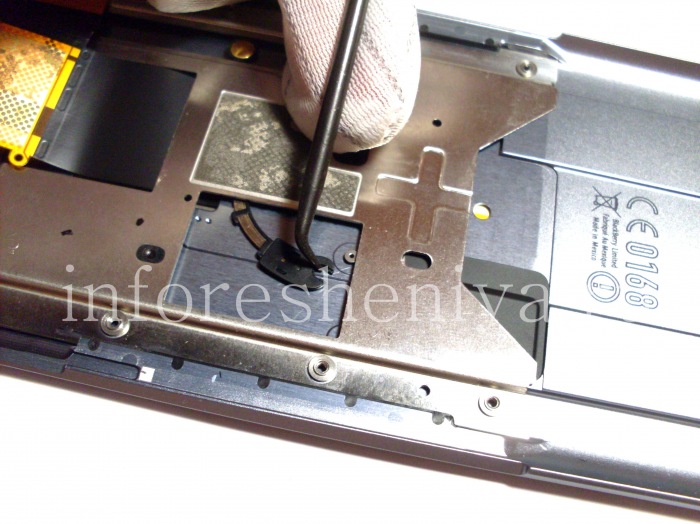
Then, a metal hook gently bend the spring mechanism and swing it to the side. Pre-need to bring the slider to the middle position disclosure.
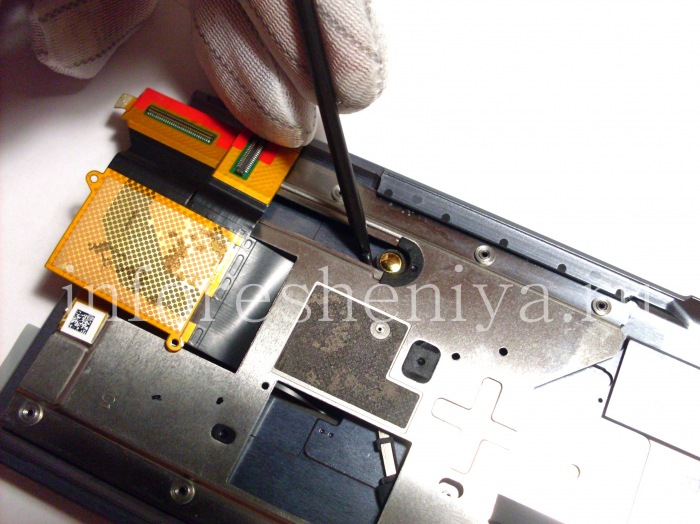
Following lift slider that was limiting, as shown in the photo.
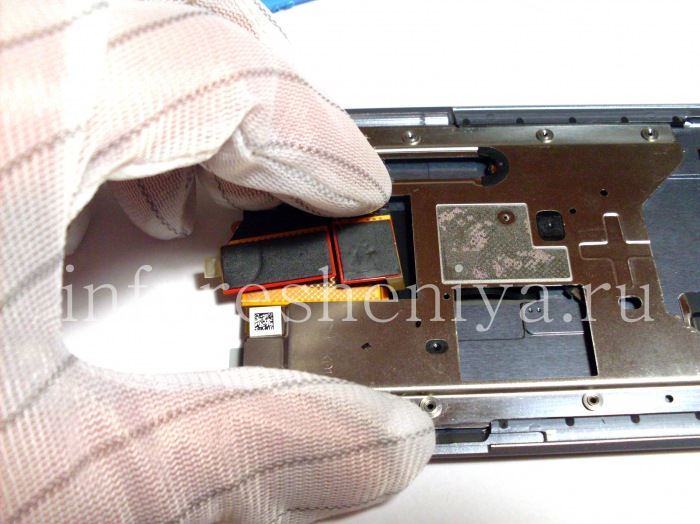
Promoting slider bend screen connectors so that they are held under the slider mechanism. Be careful, damaging cables is very simple.
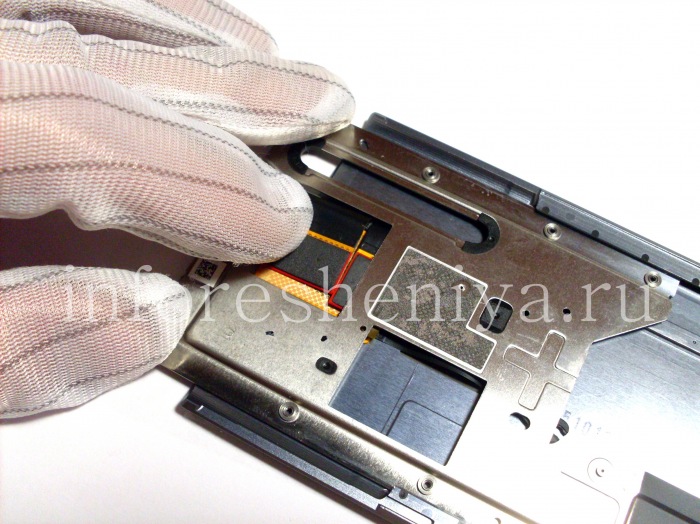
We continue to promote the slider mechanism on the connector.
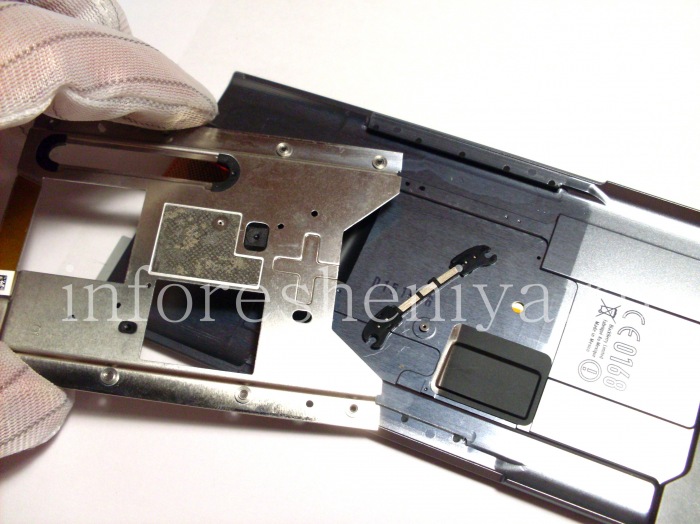
The slider mechanism is removed.
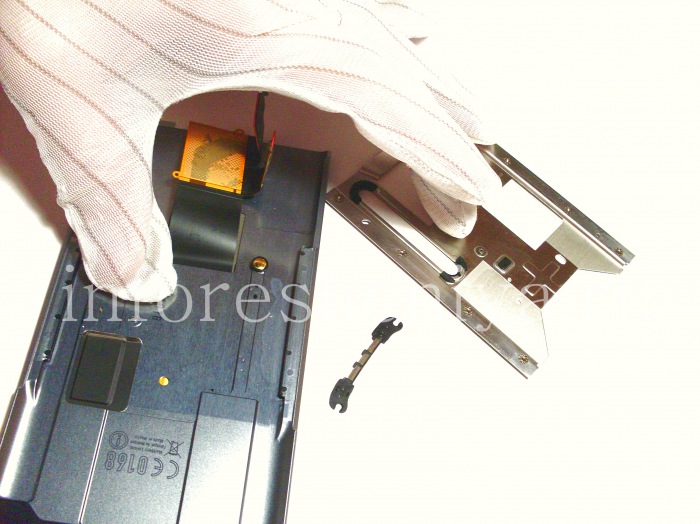
This photo shows the mounting of the spring slider mechanism.
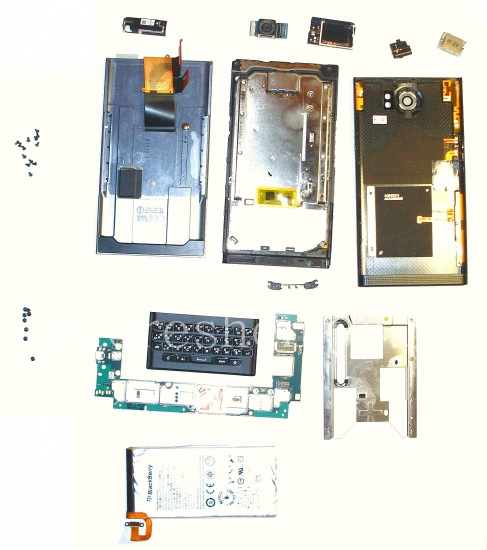
BlackBerry Priv Disassembly is complete!


